It is so full of ideas and information, I would totally be lost if it went away. And my family would starve, too! Just kidding, they don't get to eat anyway, I'm always on Pinterest!!!
Anyway, I saw this card by KittieKraft and knew I'd have to copy it.
And I know it is only October, but I have Christmas cards on the brain!
Especially since I have this month's SOTM on my desk...staring at me...calling out to me.

So one more card for now, then maybe I can get some Halloween things made.
This card was another quick and easy one to put together. All the cuts were made with the Artiste cartridge.

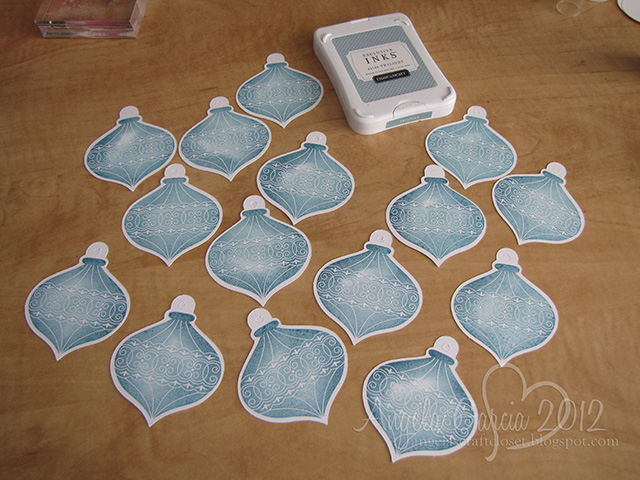
Stamps: Very Merry Christmas October 2012 SOTM
Inks: Ponderosa Pine, Ruby, Creme Brulee marker
Papers: White Daisy, Ponderosa Pine, Ruby cardstock
Accessories: Pearl Opaques, Gold organdy ribbon
Tools: Artiste Cricut cartridge, Rub-On Tool, Spray Pen
Did you know you can make a poinsettia with a star?

Pretty neat, right? Here is how I put it together:
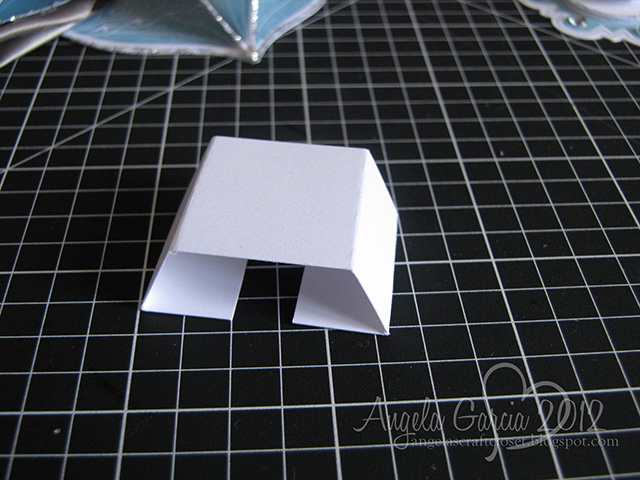
I used the star on pg. 80 of the handbook, cut in various sizes: two at 3.25" in Ponderosa Pine, and one of each at 3", 2.75", 2.5", and 2.25" in Ruby. Flowers are not flat, so I placed them on my VersaMat and used my Rub-On Tool to gently roll around the center of each leaf/petal piece. It curled it up nicely. I layered it, rotating each piece as I went. Then gave the whole thing a couple of squirts of water with my Spray Pen. I rolled the layers up a little more and centered it in my frame.
The frame is found on pg. 60. I cut it at 5.25" and again at 4.75" out of White Daisy and layered them. After all the pieces were in place, I colored some Pearl Opaques with my Creme Brulee alcohol marker and placed them in the middle of the petals. I cut some strips of ribbon, made some loops and placed them under the leaves. Then I stamped the sentiment from the Very Merry Christmas stamp set in Ruby ink. That was it!
This is a big card, 6" x 6" and very dimensional so I won't be mailing it! But it will fit nicely in boxes that are being shipped for the holidays.
Oh! That reminds me, I have to start my Christmas shopping soon!

How about you??